Mare
MareLogbook / Guide /
Mare for students: a semester in one workspace
A tag per course, a note per lecture, one note for the week and a lock on the answers. One way to set Mare up for a semester.
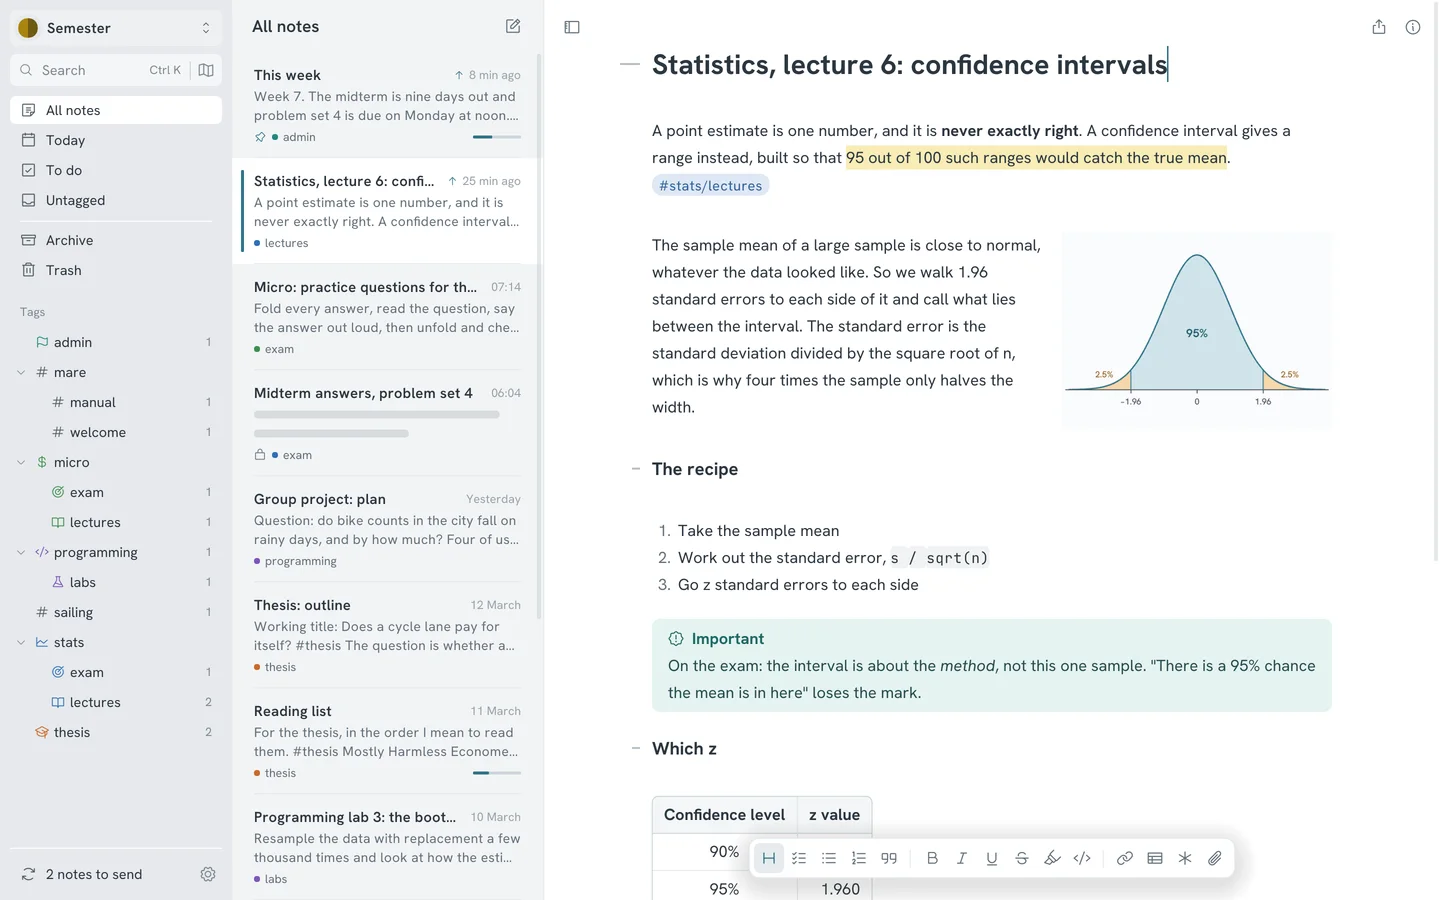
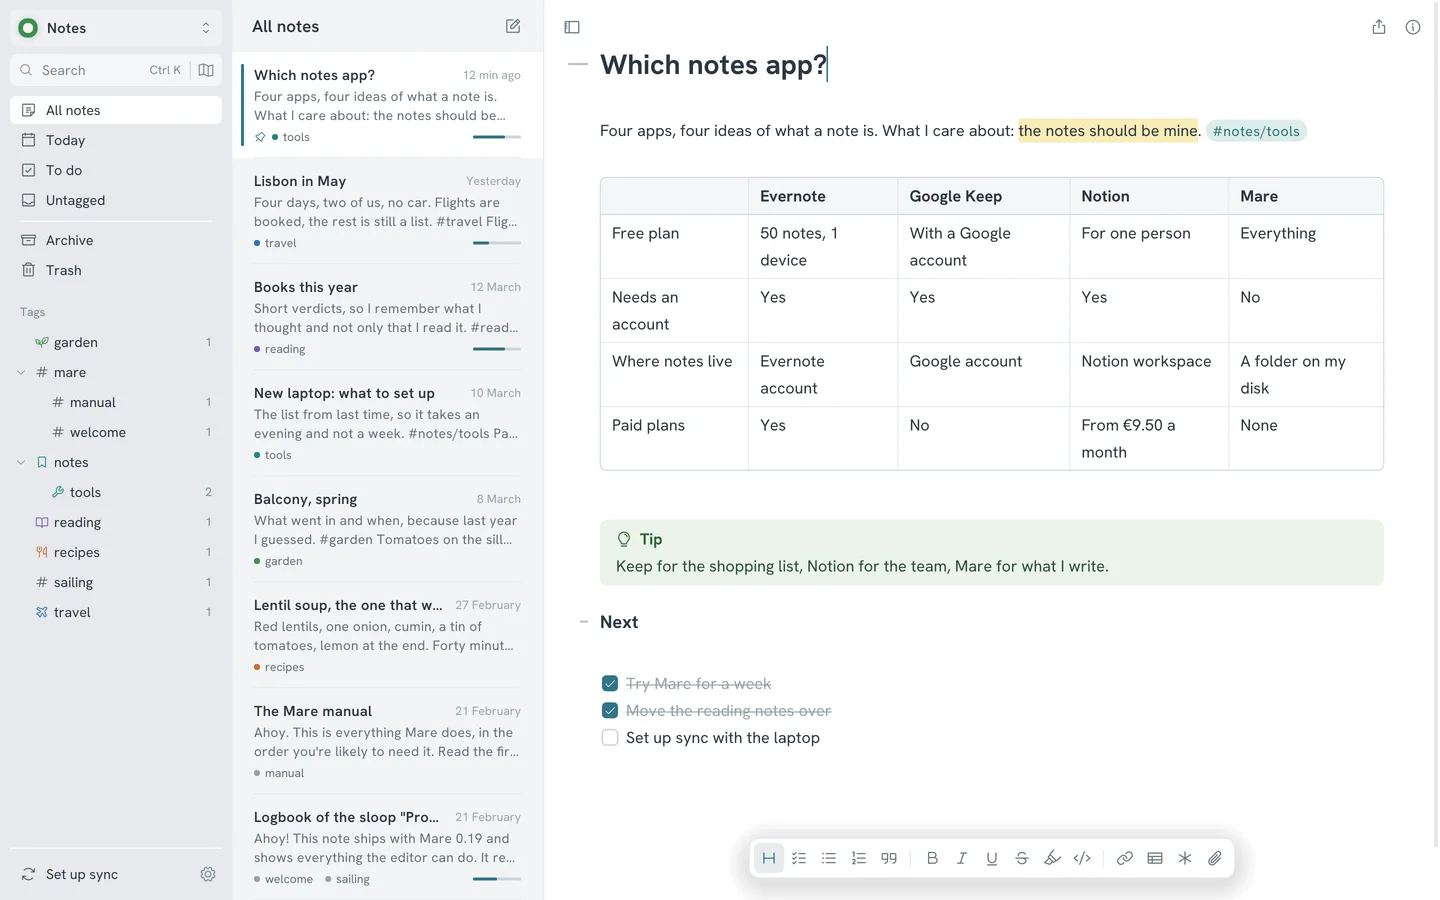
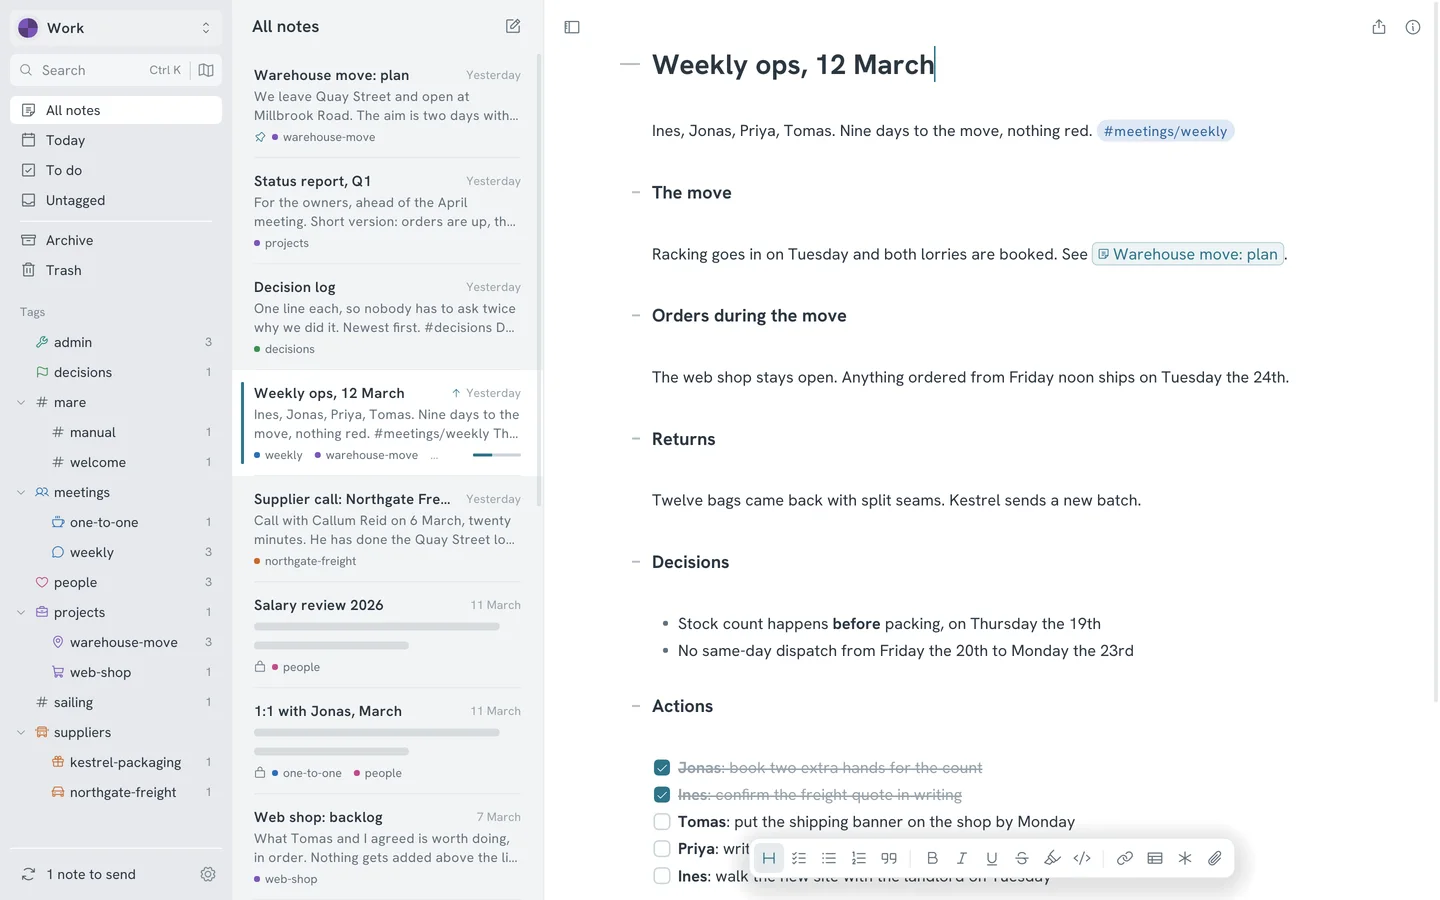
A semester is four or five courses, each with lectures, hand-ins and an exam at the end, and none of it arrives in order. Here's one way to keep it in Mare. It takes about ten minutes to set up. The pictures on this page use the same setup: a made-up student in week seven, nine days before a midterm.
One workspace for the semester
A workspace is a folder of notes with its own tags, its own password and its own place to sync with. Make one for the semester, or one for your whole degree if you'd rather search everything at once. Keep everything else in another workspace. You switch between them at the edge of the sidebar.
A tag for every course
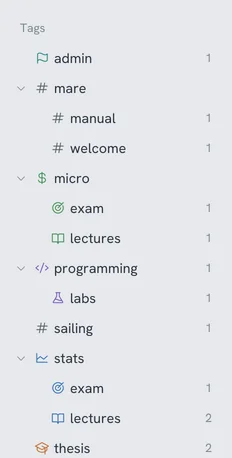
You don't have to make folders first. Type #stats anywhere in a note and Mare files the note under stats. Type #stats/lectures and the sidebar gets a new branch. A tag tree like this covers most semesters:
- one tag per course, such as
#stats,#microand#programming - under each,
/lecturesfor what was said and/examfor what you need at the end #thesisfor the long piece of writing#adminfor timetables, deadlines and the email you must not forget to send
Right-click a tag to give the course a colour and an icon. The colour shows wherever the tag appears, so you can see at a glance in the note list which course a note belongs to. Drag the tags into the order of your week if that helps.
A note for every lecture
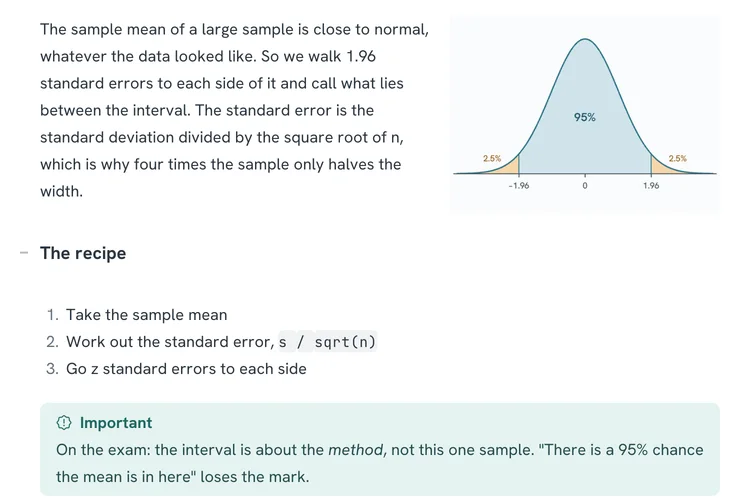
Start a note when the lecture starts and give it a title you'll recognise in May, such as the course, the lecture number and the subject. Then type. Mare styles markdown as you write, so ## becomes a heading and ** becomes bold while your hands stay on the keyboard. The markers hide when you move the caret on.
A few things are worth using in lecture notes. Highlight the one sentence the lecturer repeated. Put anything announced as exam material in a callout, so it stands out when you scroll back. Use tables for the numbers you'll look up again. Code blocks have syntax highlighting for R, Python and the rest. Paste a plot or a photo of the whiteboard, align it left or right, and the text wraps around it.
One note for the week
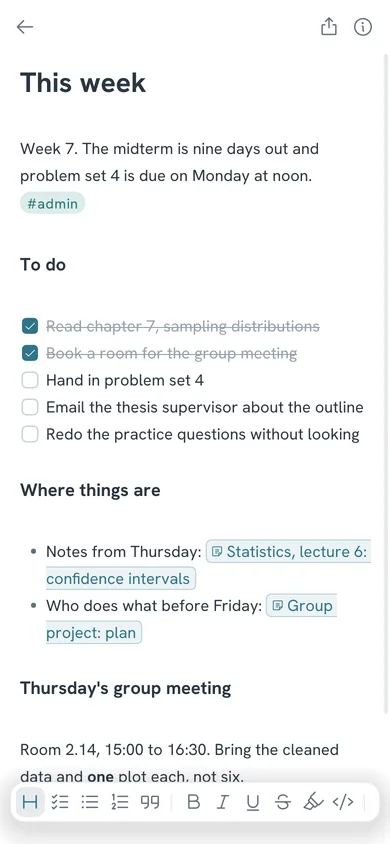
Pin a note called This week to the top of the list and keep it boring: a todo for every hand-in, reading and errand. Type [[ to link to the note you need for each one, so the problem set is one click from its lecture. On Sunday evening, untick, delete and write next week's.
The To do view in the sidebar lists every note that still has an open todo, from any course. If a lecture note ends with three things to look up, you won't forget them. The thin bar on a note in the list shows how many of its todos are done.
Fold the answers and quiz yourself

You can fold headings. That turns a plain note into flash cards. Write each practice question as a heading with the worked answer under it, then fold them all. Read a question, answer it out loud or on paper, and unfold to check. Fold it again if you were right.
It's simpler than a flash card app, and that's the point. The questions are next to the lecture notes they came from, you can search them, and making them is part of the revision.
Lock what should stay closed
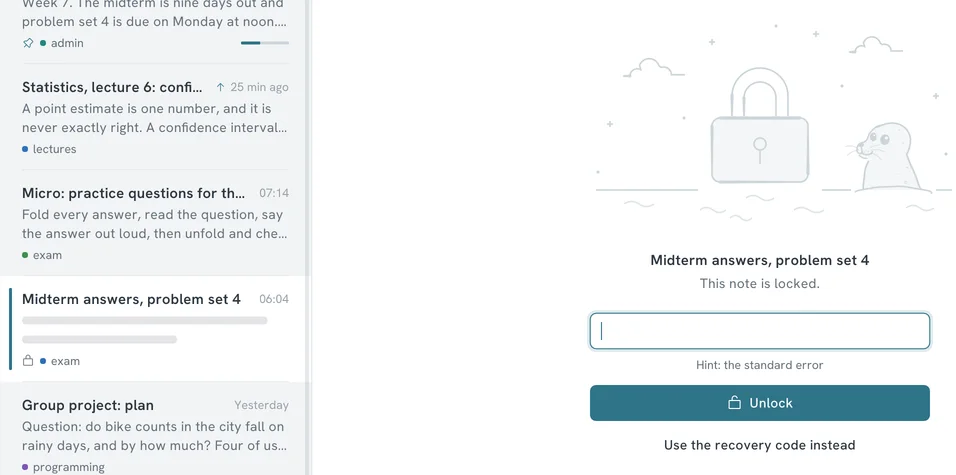
Some notes aren't for the person sitting next to you in the library, or for the group you share a workspace with: your worked answers to a graded problem set, your grades, a draft you're not ready to show. Right-click the note and lock it. From then on Mare stores its text and attachments encrypted, on your laptop and everywhere the workspace syncs to.
There's one password per workspace. Unlock one locked note and they all unlock, until Mare locks them again after 10 idle minutes. Titles and tags stay readable so you can still find the note, so don't put the answer in the title. Write down the recovery code Mare shows when you set the password. Nobody can reset it for you.
Plan the group project where everyone can see it
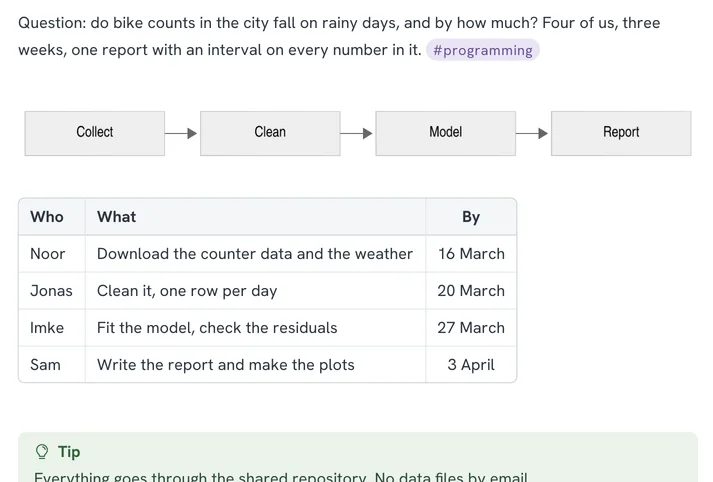
A table of names, tasks and dates settles most arguments before they start. Above it, a mermaid code block turns a few lines of text into a flowchart of the steps. Click the flowchart to edit the text.
To work in the same notes as your group, create a workspace for the project and give the others access to the place it syncs with, such as a git repository you all can reach or a shared folder. Edits to different notes, or to different parts of one note, merge automatically. If two of you changed the same lines, Mare shows both versions and you pick.
Find it again in May
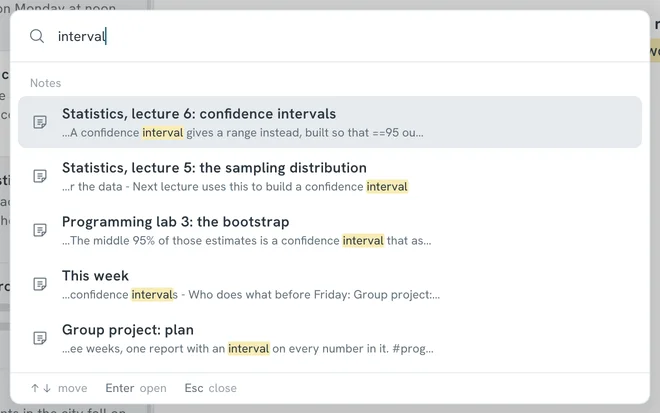
By exam time you won't remember which lecture explained something, only that one did. Ctrl K searches every note and shows the sentence around each match. Add a tag to the search, such as #stats, to stay inside one course, or @todo to see only notes with open todos.
This is where the titles and the callouts pay off. Search for a word from the exam question and you find the callout you wrote in week six, in a note with the week in its title.
Write the long piece without fear
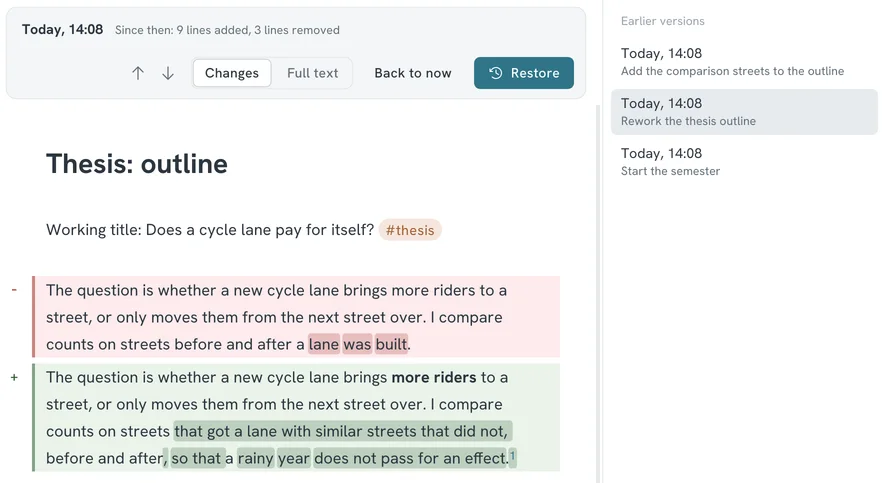
A thesis is rewritten more often than it is written. Each time you sync, Mare keeps the previous version of the note, so you can cut a paragraph today and still read it next week. The clock tab in the info panel lists the versions, shows what changed in red and green, and restores one with a button.
When it's time to hand something in, export the note as a PDF with the button at the top right. A front page and a clickable table of contents are optional, and the text stays selectable for whoever has to mark it.
Keep the laptop and the library computer in sync
Sync is built in, and you pick where your notes go. The quickest way is Google Drive. Sign in and give the workspace a name. On the second computer, sign in again and pick the workspace from the list. If you already use git for coursework, a private repository works too, and gives you a history you can read anywhere.